This tutorial is intended for MonoX administrators. It describes the interactive, drag-and-drop mode of working with built-in MonoX Web parts..
We will divide this tutorial in the following sections:
1. Web parts and Web part zones.
2. MonoX administration task bar and Web part gallery.
3. How to change Web part properties.
1. Web parts and Web part zones.
Web parts are basic building blocks of MonoX portal pages. End-users can choose from a variety of pre-installed Web parts from the Web part catalog and modify their properties. Developers can enhance the functionality of the existing Web parts or develop completely new Web parts to be included in the Web part catalog.
To start using Web parts interactively, you have to include one or more Web part zones in your page. Zones are simply regions on a page that can contain Web part controls. Zones exist to lay out Web parts controls on a page, and to provide a common UI for the controls. There can be one or many zones on a page, and each zone can contain one or more Web part controls. Web part zones can be added to the master page or directly to your content pages. It's up to you and your design and functionality specifications.
Here is a code snippet for a web part zone:
<%@ Register Assembly="MonoX" Namespace="MonoSoftware.MonoX" TagPrefix="portal" %>
<portal:PortalWebPartZoneTableless HeaderText='<%$ Code: PageResources.Zone_SocialZone %>' ID="featuredProjectPartZone" runat="server" Width="100%" ChromeTemplateFile="LeftColumn.htm">
<ZoneTemplate>
</ZoneTemplate>
</portal:PortalWebPartZoneTableless>
2. MonoX administration taskbar and Web part gallery.
In order to add a built-in Web part to you page, you need to be logged in as an admin. (Default username and password pair for demo MonoX site is
admin/admin). After logging in, follow the steps bellow:
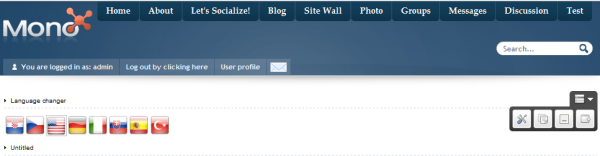
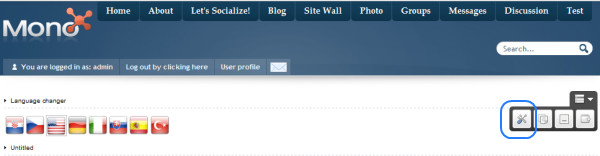
Click on the Monox task bar.

Click on "Part catalog".
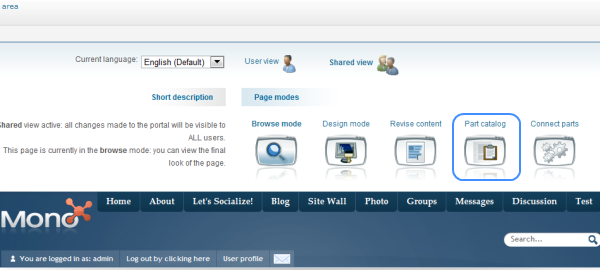
By clicking on the part catalog, a Web part gallery opens as in image bellow:
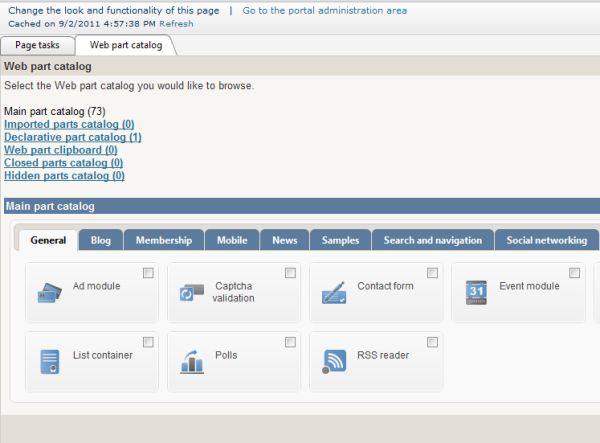
Now you can see that all Web parts are divided into categories (general, blog, membership..). There are two approaches to add a Web part to the page. You can either drag and drop the Web part from the catalog directly to your page, or you can select (check) the Web part by clicking on it, choose the Web part zone that will hold the newly added part and click on the "Add" button. Both of these approaches are described below:
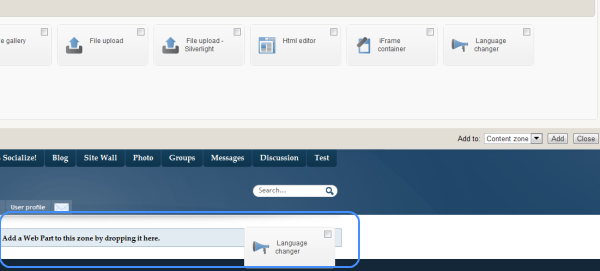
1. Drag and drop:
2. Adding web part by defining it's web part zone:
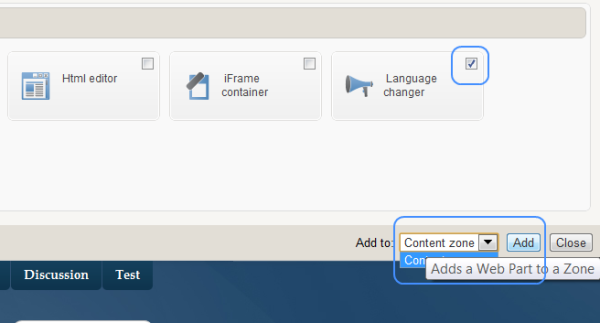
Whatever approach is used, you should end up with your Web part added to the page as on the image below:
 3. How to change Web part properties.
So you've added the Web part and now would like to change it's behaviour. It can easily be done by clicking on the "Properties" verb.
By clicking on it, properties toolbar slides down so you could set any of the target part's properties:
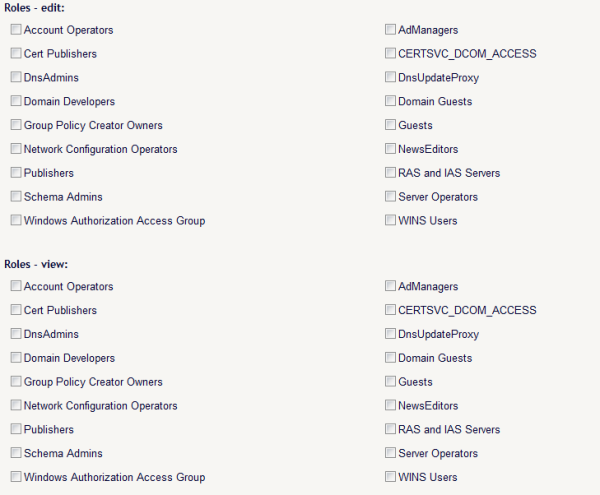
This is an example of Web part properties that can be dynamically changed. When you are finished with setting the properties, just click on the Apply button and your Web part is ready to use.